Setting up URL redirects is essential for managing domain traffic, consolidating links, and preserving user experience across changing URLs. RedirHub makes it simple to create and control redirects at scale with just a few clicks.
This guide will walk you through the complete process of configuring a redirect within your RedirHub dashboard.
Step 1: Log in to Your RedirHub Account
To get started, log in to your RedirHub account on the Dashboard (https://dash.redirhub.com/). If you don’t have an account yet, you can sign up for a free trial on the RedirHub website.
Step 2: Add Your Domain
Once logged in, head to the dashboard and click “New Redirect.” Enter your domain name and follow the prompts to verify ownership.


Step 3: Configure Redirection Settings
In the configuration settings, input the destination URL for your domain. RedirHub’s intuitive interface makes this step simple for users of all experience levels.

Step 4: Choose a Redirect Type
And, you can choose a redirect type. RedirHub offers several options, including 301 (Permanent), 302 (Temporary), and 307 (Temporary). The most commonly used and default redirect type is 301, which tells search engines that the old page has permanently moved to the new page.

Step 5: Submit Your Redirect
Once you’ve entered your URLs and chosen a redirect type, click on the “Submit” button to create your redirect. You’ll see a confirmation message on the screen, and the redirect will be added to your list of redirects.
Step 6: Follow the DNS Setup Instructions
After you submit your redirect, you’ll see a pop-up with DNS setup instructions. These instructions will guide you through the process of setting up a DNS record to point your old URL to your new URL. The instructions will include the DNS record type and value you need to add to your DNS provider.

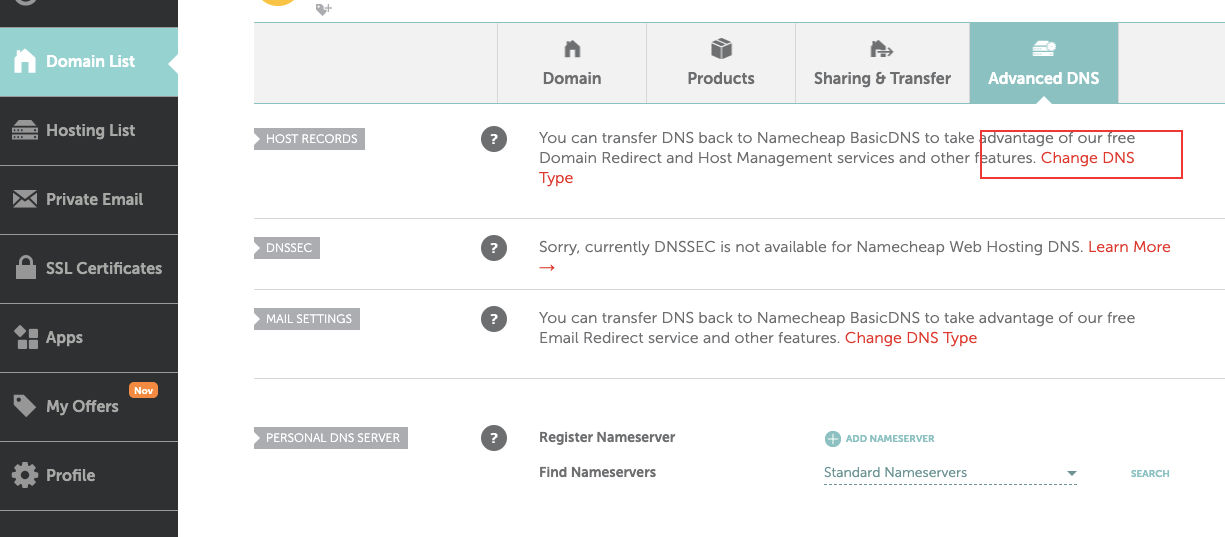
Here’s a guide on following the DNS setup instructions using Namecheap as an example (screenshots please scroll down):
- Log in to your Namecheap account and navigate to the domain you want to set up a redirect for.
- Click on “Manage” next to the domain name.
- Scroll down to the “Advanced DNS” section and click on “Add New Record”.
- In the “Type” dropdown, select the record type specified in the DNS Setup Instructions provided by RedirHub. This is usually a CNAME record or an A record.
- In the “Host” field, enter the host specified in the DNS Setup Instructions provided by RedirHub.
- In the “Value” field, enter the value specified in the DNS Setup Instructions provided by RedirHub. This is usually a hostname or IP address.
- Leave the “TTL” as default unless you have a specific reason to change it.
- Click on “Save All Changes” to save your new DNS record.
Here’s an example screenshot of the “Advanced DNS” section in Namecheap where you can add a new DNS record:

If you’re having trouble setting up the DNS record, you can contact your DNS provider’s support team for assistance.
Step 7: Wait for DNS Propagation
Once you’ve added the DNS record to your DNS provider, you’ll need to wait for DNS propagation to occur. This process can take anywhere from a few minutes to a few hours, depending on your DNS provider. Once DNS propagation is complete, you’ll see a successful message on the DNS setup screen and your URL redirect will be active.
Congratulations!
You’ve successfully set up a URL redirect using RedirHub. Now, whenever someone tries to access your old URL, they’ll be automatically redirected to your new URL.
URL redirects are an important part of website maintenance and marketing. With RedirHub, setting up URL redirects is quick and easy. By following the steps outlined in this tutorial, you can create and manage your URL redirects with ease. If you have any questions or need further assistance, the RedirHub support team is always available to help.

